Overview
This article describes steps for how to add a custom data source from a query in a manner that allows our customers to have quick access to a formatted version of the data source. This can be used for custom reporting purposes.
Steps
In ETMS go to Operations suite and click on the Self Service Reporting card.
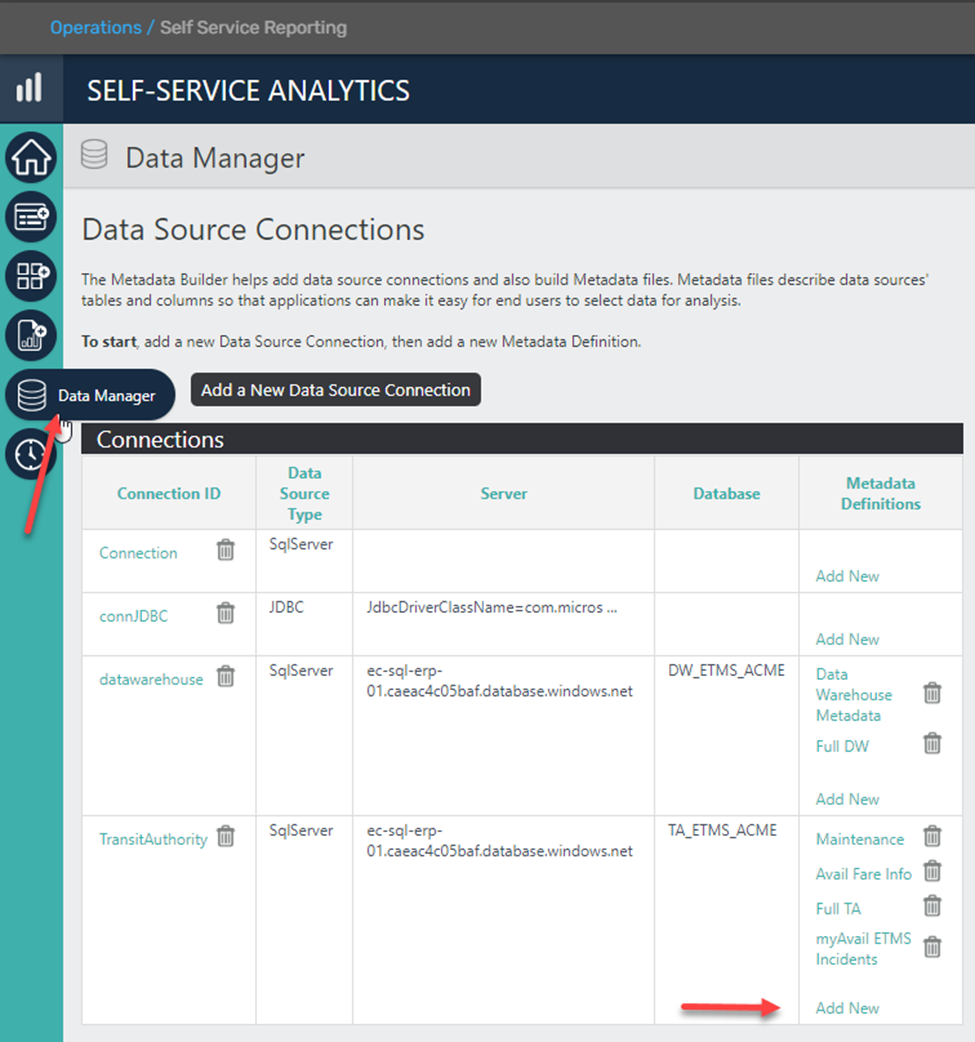
In the Menu on the left click on the Data Manager icon. Data Manger/Data Source Connections page opens.

To add a new Metadata definition click on Add New at the bottom right corner of the table.
The popup will ask to confirm if you want to create new metadata, click OK.

In the Metadata Definition Editor fill out the Metadata ID, Name and Description (see example below). When done, click the Add a Custom Table with a SQL Query button.

The Name field will be what is displayed in the self-service data selection menu so make sure this accurately conveys what data will be available in the feed.
The popup will ask to confirm the addition of a new table. Click OK.

In this example we will add a customer metadata feed and a custom table to enable reporting for myAvail Vehicle Incidents
After developing a SQL query that provides the data the customer is looking for, we can paste this into the Custom Table Query Editor.
SQL Statement
In the Custom Table SQL Query Editor fill out the table name and paste the following SQL:
SELECT i.[IncidentId] as ID
,i.[IncidentDateUTC] as IncidentDate
,i.[Title]
,i.[Description]
,i.[Location]
,v.[Report_Label] as VehicleID
,u3.[ReportLabel] as Operator
,vit.[Label] as VehicleIncidentType
,pc.[Label] as VehicleProblemCode
,u2.[ReportLabel] as CreatedBy
,u.[ReportLabel] as Assignee
,s.[Label] as Status
FROM [dbo].[Incident] i
LEFT JOIN [dbo].[Incident_Vehicle_Info] vi ON i.[IncidentId] = vi.[IncidentId]
LEFT JOIN [dbo].[Vehicle] v ON vi.[VehicleRecordId] = v.[Vehicle_Record_Id]
LEFT JOIN [dbo].[Vehicle_Incident_Type] vit ON vi.[VehicleIncidentTypeId] = vit.[VehicleIncidentTypeId]
LEFT JOIN [dbo].[Vehicle_Problem_Code] pc ON vi.[VehicleProblemCodeId] = pc.[VehicleProblemCodeId]
LEFT JOIN [dbo].[User] u ON i.[AssignedUserId] = u.[ID]
LEFT JOIN [dbo].[User] u2 ON i.[CreatedBy] = u2.[ID]
LEFT JOIN [dbo].[User] u3 ON vi.[OperatorUserId] = u3.[ID]
LEFT JOIN [dbo].[Incident_Status] s ON i.[IncidentStatusId] = s.[IncidentStatusId]
You can have multiple customer tables in a metadata definition. Here we are adding a consolidated data view that provides the key data elements captured in Vehicle Incidents. We would also add a full detail view that provides full access to all data elements related to the incident.
The table name should describe what will be presented in this particular table.
Click Test SQL Query button to test it. If there are errors in the SQL query, fix them and try again. When the query is correct, click Done.
Back in the Metadata Definition Editor, in the Tables section find the one that you just created. Check the checkbox on the left to make it Visible and click Done.

Make sure you mark the table as visible so it is displayed for the user in SSRM Analysis
You can also format the columns by clicking on the Edit button

Here we can add friendly names if the column name is not descriptive and set the format and behavior of each column.
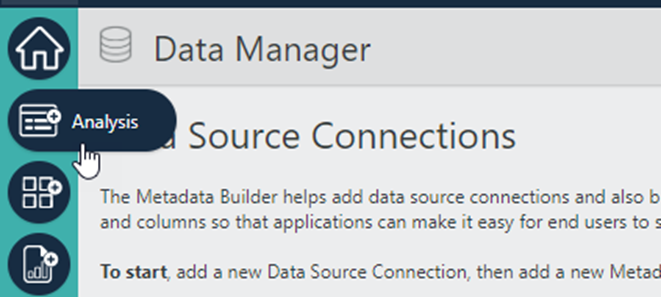
In the Menu on the left click on the Analysis icon.

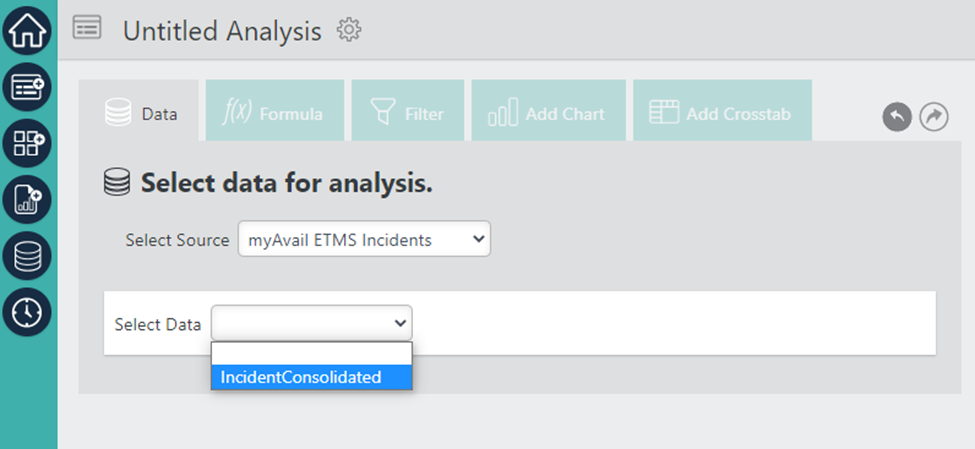
On the Untitled Analysis page pick the ‘source’ that you just created.
Then pick data.

The system will show the table with all the incident data.

The table can then be downloaded for analysis in Microsoft Excel or charts and tables can be created in the self service tool for use in custom dashboards and reports.