Use to replay a vehicle’s movement on the map and in a grid format. You can display replay information by Vehicle, Operator, Block, Run, Route, or geographic area. Additionally, you can print the map or export the grid data to an Excel spreadsheet.
The information available contains all vehicle reports from the start time to the end time. The map displays the following information: location, vehicle, operator, block, and the run or route. In the grid, you can also display the vehicle’s schedule adherence status, speed, and other information as described in the previous table.
Use Replay to resolve a variety of issues. For example, a Customer Service Representative can use it to resolve a ridership complaint such as, “I was at the stop on time, but the bus did not come.” The Representative can see when the vehicle was at the stop and for how long.
If vehicles consistently display as being early or late, a Planner can determine whether running times are accurate in the schedule data, or if a vehicle was correctly identified at each time point and correctly changed to the next stop. The planner can also use Replay to further investigate other reasons why a vehicle was identified as leaving a stop early.
Administrators can use Replay to assess operator performance. For example, they can determine whether a vehicle/operator is:
- Adhering to the schedule
- Adhering to the route
- Driving at safe speeds
- Bunched and gapped vehicles on a headway route
To use Replay, you must specify the following:
- The time frame that contains the information.
- At least one of the following criteria:
- Vehicle
- Operator
- Block
- Run
- Route
- Map Location
Setting Date/Time Criteria
You must specify both a start date and a start time.
To choose the Start date, click to open the calendar. You can also enter the date manually using the MM/DD/YYYY format.
To choose the Start Time, click to open the time drop-down list. You can also enter the time manually using the HH:MM AM/PM format.
After you complete the Start field, you must choose whether you will use either an end date or a duration to specify the end of the time frame.
If you choose End Date, specify the end of the time frame using the same procedure for specifying the start. The end must occur after the start.
If you choose Duration, enter the length of the time frame in number of minutes. The default duration is one hour. If you change the start date or time after specifying the duration, the duration is reset to one hour.
You must select the start and end of the time frame before you can choose any other criteria.
Selecting by Attribute
The selection drop-down lists are empty until you enter a time range (start and end times). You must specify at least one attribute using the drop-down lists shown below unless you select a map region.
myAvail filters the drop-down lists to display only values that are valid for the time frame and all other attribute criteria that you specify. For example, the Vehicle drop-down list displays only vehicles that were operating during the time frame entered. If you choose a vehicle, myAvail filters the Block drop-down list to display only blocks in which the vehicle was logged on during the time frame. These rules also apply to Operator, Run, and Route.
Use the Select a Status drop-down list to select AVL and Stop Reports with a specific operational status, such as OFF ROUTE, BAD GPS, or BAD COMMS during the selected time frame. This control allows you to investigate a particular condition.
After you specify the selection criteria, you must click the Load Data button to display the information on the map and in the grid.
The map displays the following information about the data that matches your criteria:
- Route traces for all routes in your data.
- Trace colors match the colors on the Operations tab.
- For example, if you select vehicle 10 for a 3-hour period and the vehicle services two routes during that time, the map displays both route traces.
- Dots with arrows.
- Vehicle colors match the status colors on the Operations tab.
- Arrows indicate the vehicle’s direction of travel.
- Numbers above the dots indicate the record’s row position in the grid.
- Red shaded areas and red dashed lines represent detours.
- Red shaded areas indicate the closed portion of the route.
- Red dashed lines show the alternative route.
You can configure the maximum number of AVL reports that myAvail displays on the map and in the grid. The default is 200. If the number of rows returned exceeds this value, myAvail displays the AVL records on multiple pages and includes page controls at the bottom of the grid. Use these controls to navigate through the pages.
Avail recommends using the default of 200 AVL records because it:
- Reduces map clutter. Too many dots on the screen are difficult to read.
- Improves system performance. Loading numerous AVL reports degrades system usability.
Selecting by Area
Click Select Area on Map when you need to use Replay and you want to specify a time and location.
First, specify the time frame. Then, click the Select Area on Map button.
In the map area, click and hold the left mouse button. Drag the cursor to select the map area. After you select the area, click Load Data to display the information on the map and in the grid.
While the map area is in effect, you can change the time frame or add attribute criteria, such as a vehicle, operator, block, run, or route. Click Load Data to apply the new criteria.
The map area remains in effect until you click Clear Replay, Clear All, Clear Map Selection, or leave the page.
![]()
Selecting a Saved Replay
You can load a replay that you or other users at your property have previously saved. This functionality is convenient when you want to view a specific replay because you do not need to specify the relevant criteria again.
To load a saved replay, click the Select Replay drop-down list and choose a replay. Then, click Load Data.

Saving a Replay
After specifying the criteria for a replay, you can save the replay for future use. In the field above the Save Replay Settings button, enter a name for this replay. Tip: be sure the name clearly identifies the subject of the replay. Then, click Save Replay Settings. myAvail saves the full set of criteria for your replay. This replay is now available for authorized users to select from the Select Replay drop-down list.
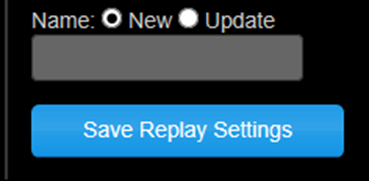
When you select a saved replay, myAvail displays the name in the Save Replay Settings field and sets the radio button to Update. If you change the criteria, click Save Replay Settings to save your changes.

Deleting a Saved Replay

Select the replay in the drop-down list and click Delete. myAvail asks you to confirm the deletion.

Printing the Map
To print the map area of the screen, click on ‘Export’, to reveal the menu.
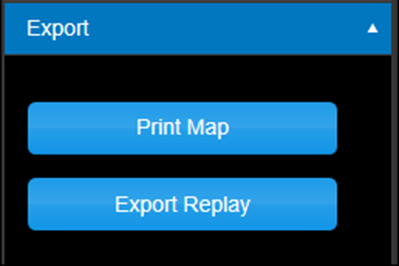
Click the Print Map button to open a standard print dialog box. After you select the desired printer, set the page format to landscape. You must also check both the Print Background Colors and Images box and the Enable Shrink-to-fit box, as shown below.

Exporting the Grid Data
You can export the Replay data grid to an MS Excel spreadsheet file. To do this, open the export control and click Export Replay.

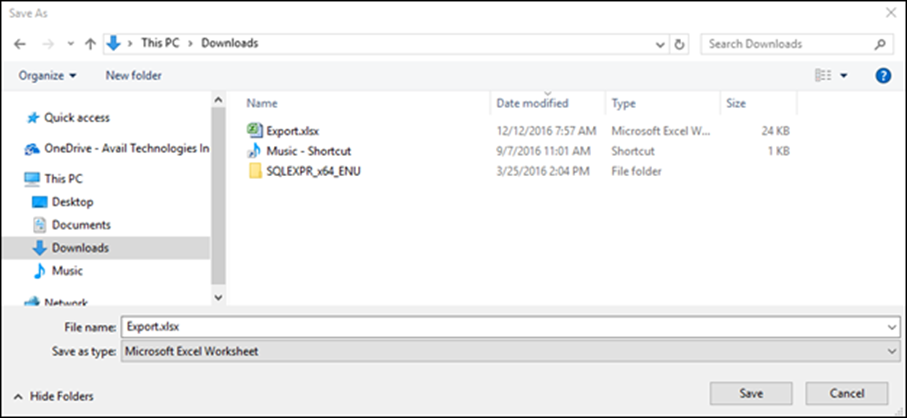
Click the Export Replay button to open a download dialog box. Click Save.

At this point, the system prompts you to enter the file name and choose the location for the exported data.
Possible Replay Error Messages
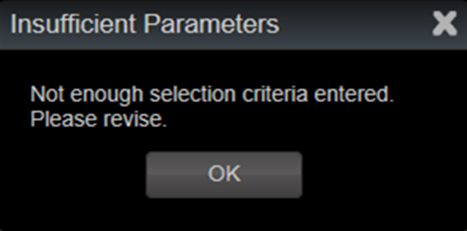
Insufficient Parameters - This error occurs because you have not selected at least one of the available selection criteria and you are not using Select Area on Map. The available criteria are Vehicle, Operator, Block, Run, Route and geographic area.
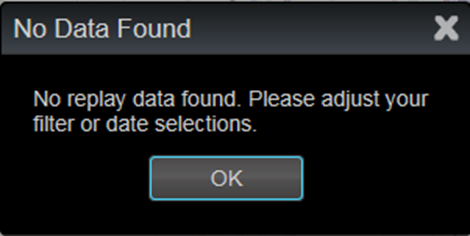
No Data Found - This error occurs when you use Select Area on Map and there are no AVL entries in the selected area. Check the time range and the map area.
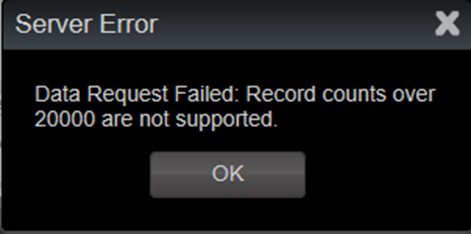
Data limit exceeded - The selection criteria you entered returns more records than the limit set for your system (default is 20,000). To correct the error, reduce the number of returned records by either selecting a shorter time frame or by using more restrictive selection criteria.
